(all work and images copyright of the artist).
Here is a beautiful example of an edible crab. These amazing crustaceans have captivated me since I was a child growing up in Pembrokeshire, West Wales. I used to find these under the rocks on the banks of the Cleddau estuary and I have felt the urge to create one in bronze. Here is rough guide to how I undertake the project.


I took these photos above of the frozen crab (which has been sitting in my freezer for about a year) to act as reference photos if, for what ever reason the original crab is lost, or starts to decompose and needs throwing out. In one of the images you can see where I have placed it on a clay stand, this will act as a funnel when I make the rubber mould plus it holds the crab in the right orientation.

I built a box to hold the rubber that will encapsulate the crab and the whole thing has been clamped to the base board. Clamping it down stops the pressure of the rubber from lifting the box. The inside corners of the box are sealed with clay to prevent leaks.


I have poured in 4.5kg of silicone rubber to make this 'block mould'. I feel this is quicker than making a 'jacket mould' but it definitely feels wasteful using so much rubber. One thing I didn't account for was the fact that the frozen crab started floating so I have had to use a crude piece of wire as a quick fix to hold it down, this was then weighed down with a bag of clay so that I can leave it to set. I used a battery drill with a bent piece of metal bar in the end to vibrate the mould and to release any trapped air bubbles around the crab.


After 24 hours the rubber had set. I have missed a few steps out of my photos but the rubber was cut along the edge to release the original crab. The seam line that follows the crab shell is cut as straight as possible but then it is cut to form bigger 'waves' nearer the edge of the rubber to act as 'keys' later. The process of cutting out the trapped crab and cleaning the mould took around 2 hours. The rubber was dried and a thin layer of oil was used to act as a release agent. I spent around 2 hours painting in hot Microcrystaline wax into all of the details of the two halves of the mould and the halves were replaced. A final swill of wax fused the two halves of wax together making a hollow wax crab, think 'easter egg'.


I have missed a few more steps but the wax is cleaned up to remove any seam lines. I also removed the back legs and replaced them to make the crab look more animated and less...dead. This took around 7 hours with the wax system also being attached. A core of investment material (basically a fire-able plaster) was poured inside the hollow wax and the whole investment was placed in a kiln to burn out the wax. Bronze was poured into this 'empty' investment and the molten metal captures all of the fine details of the wax and the original crab.


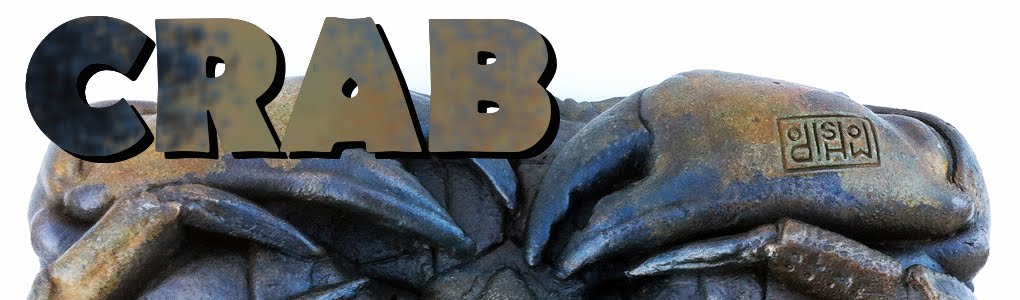
Once in bronze the system and pour cup are cut off and the chasing can begin. Any bubbles or 'spuds' of bronze are chiselled off and and holes are welded shut. Fine details can be hammered and carved into the surface to re create all of the original fine details. A good example of the chasing skill required can seen in the images above. The back end of the crab had surface issues and this is also where the pour cup was. Refering back to the original photos I have tried to recreate the flow of the form and overall details as best I can.